
The Collins CP-1 Crystal Pack originally consisted of all the various crystals in a vinyl pouch along with a set of hemostats (the crystal gripper) for removing and inserting the crystals in the equipment. While this was fine when new, time has taken a toll, and the pouch is no longer a very convenient way to store the crystals (when not using the CC-2) ready for use.
In searching around, I found another radio amateur who has turned an old "recipe box" into a very nice ccrystal box. Following is a description of how I made my own version.
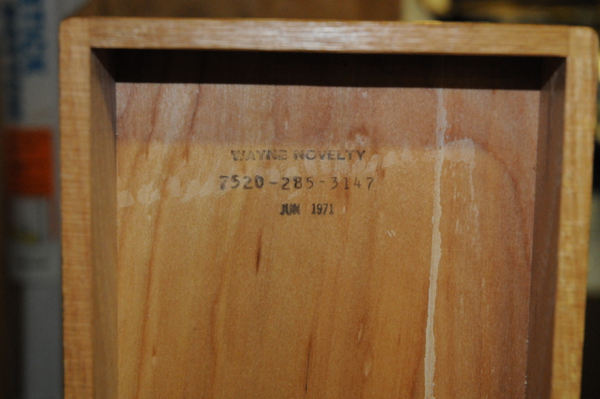
The first thing I needed to do was find a suitably sized box for storing all the crystals. The dimensions needed to store up to 126 crystals (21 rows of 6 crystals) dictated the size. I found a recipe box, a Wayne Novelty model 7520-285-3147, which would work well. The internal dimensions of the recipe box are 5-1/8 inches wide, 9-1/4 inches deep, and 3 inches tall.
After getting the box, I needed to remove the recipe card holder so I would have room for the crystals. This donsisted of curring the center rod with my (Dremel) rotary tool. Here are a couple of before and after picures.


Now to allow it to hold the crystals. I had grand ideas of actually drilling or machining a plate to hold the crystals. In the end, however, I decided to Keep It Simple (Stupid). So the interior of the box consists of a lower layer of 1 inch rigid foam insulation (such as you would find at a home center) with a layer of foam core "backer board" which is often used to back up photographs in a picure frame.
Rather than try to measure the interior pieces to fit, I simply used the box itself, and cut the pieces to fit. Here are some pictures of marking the interior pieces for cutting.


One thing to note is the upper left corner of the interior foam pieces must had a 1/16 inch notch cut out on both sides to allow the top stop mechanism to pass.

With the interior pieces cut, it was now time to allow the foam backer board to hold the crystals in an orderly fashion. I did this by first creating a Microsoft Word document table with the appropriate spacing.
I then cut out the table and pinned it to the backer board using a couple of "push pins". These conveniently create holes just slughtly smaller than the pins of the crystals creating a nice fit.

With a third push pin, I punched a hole at every intersection of the table. This was very tedious, but was made slightly easier because it wasn't necessary to go al the way through the backer board. Only far enough to pierce the back side. Here is what it looked like when I was done.

Then it was a simple matter to place the rigid foam in place, followed by the backer board, and finally the crystals.


The "missing" crystals are those not supplied as part of the CP-1 because they are installed in the equipment (32S, 75S, or KWM-2). I still need to add a thin piece of foam in the top of the recipe box and on top of the crystals to protect the crystals from the hemostats.
The final touch was the addition of a Collins logo to the front of the box. I made this by simply printing the logo to a piece of adhisive backed paper and then cuting it out and affixing it to the box. Here is the finished box.
